Quickstart
Issue your first verifiable credential in about five minutes.
1. Create your account
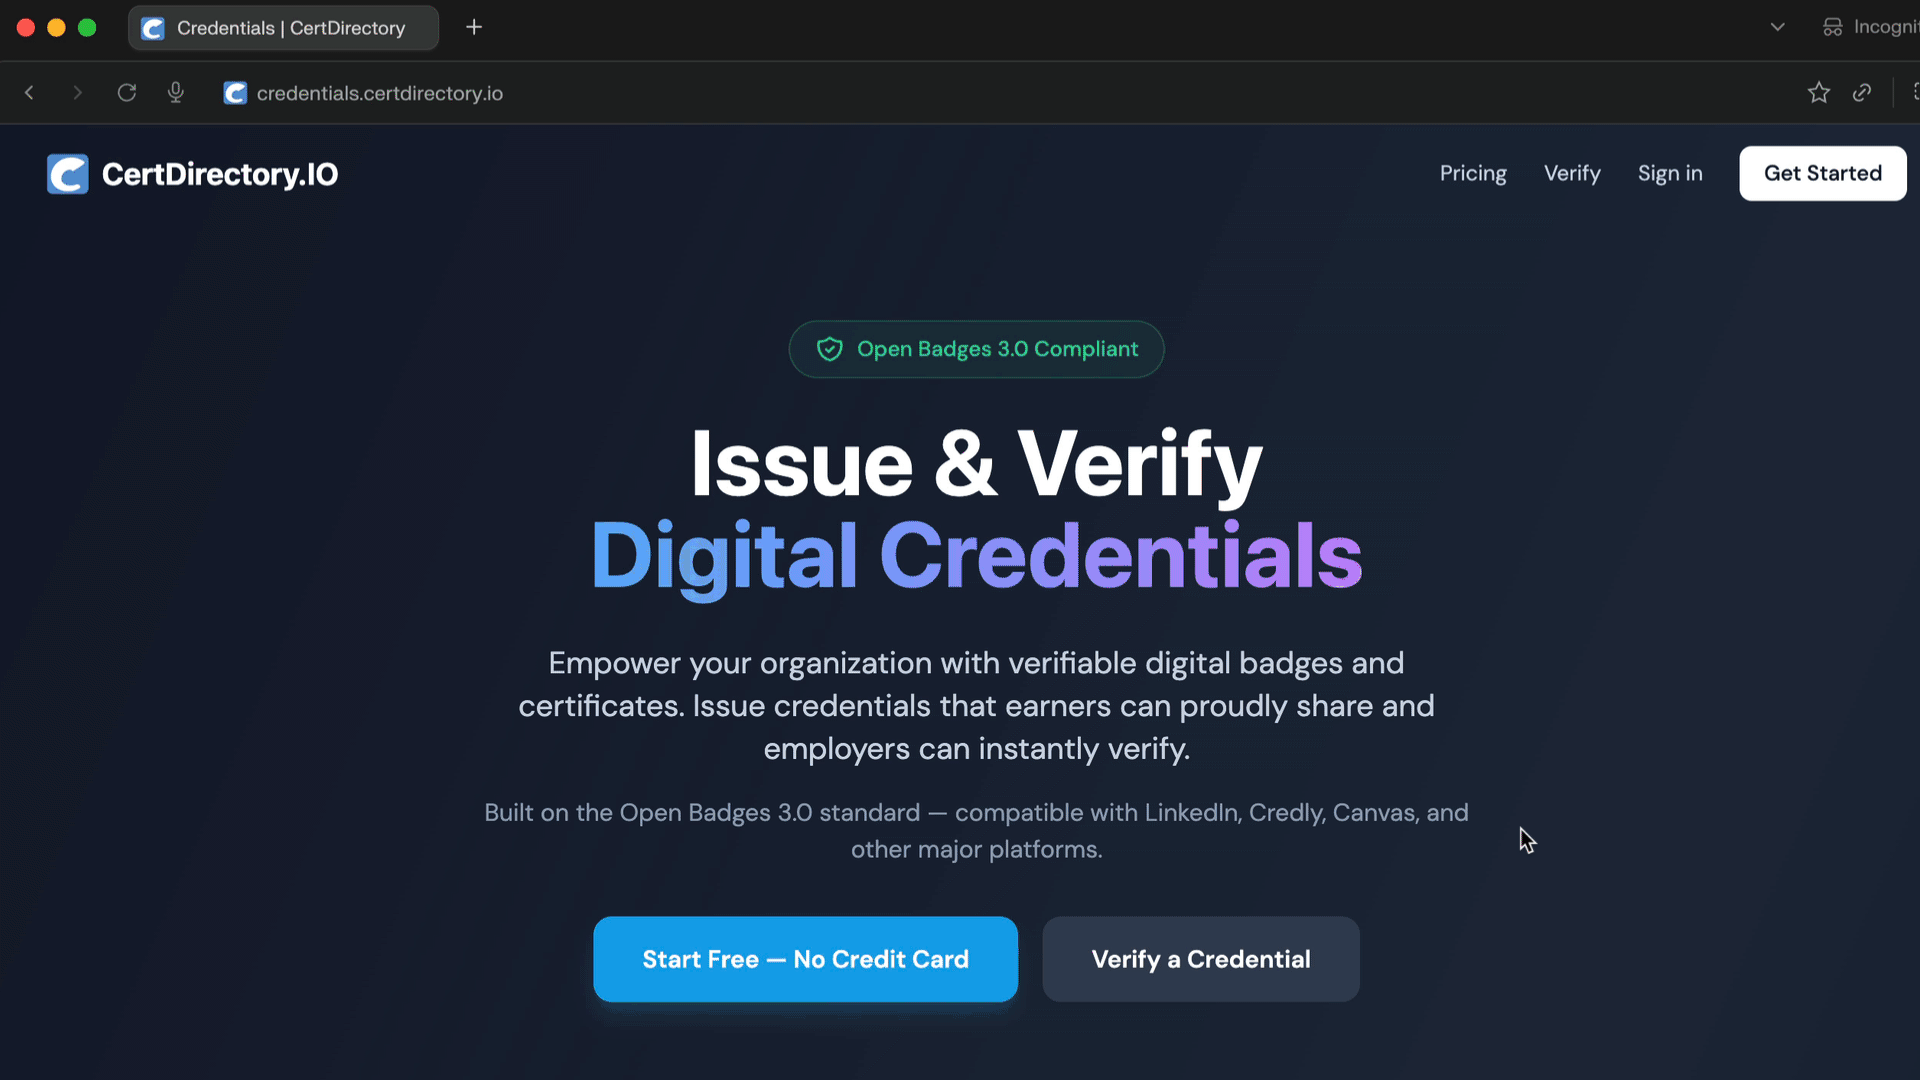 1. Go to credentials.certdirectory.io and click Sign up.
2. Register with email + password or Continue with Google.
3. If you signed up with email, check your inbox and click the verification link. (You can't create organizations until your email is verified.)
1. Go to credentials.certdirectory.io and click Sign up.
2. Register with email + password or Continue with Google.
3. If you signed up with email, check your inbox and click the verification link. (You can't create organizations until your email is verified.)
2. Create an organization
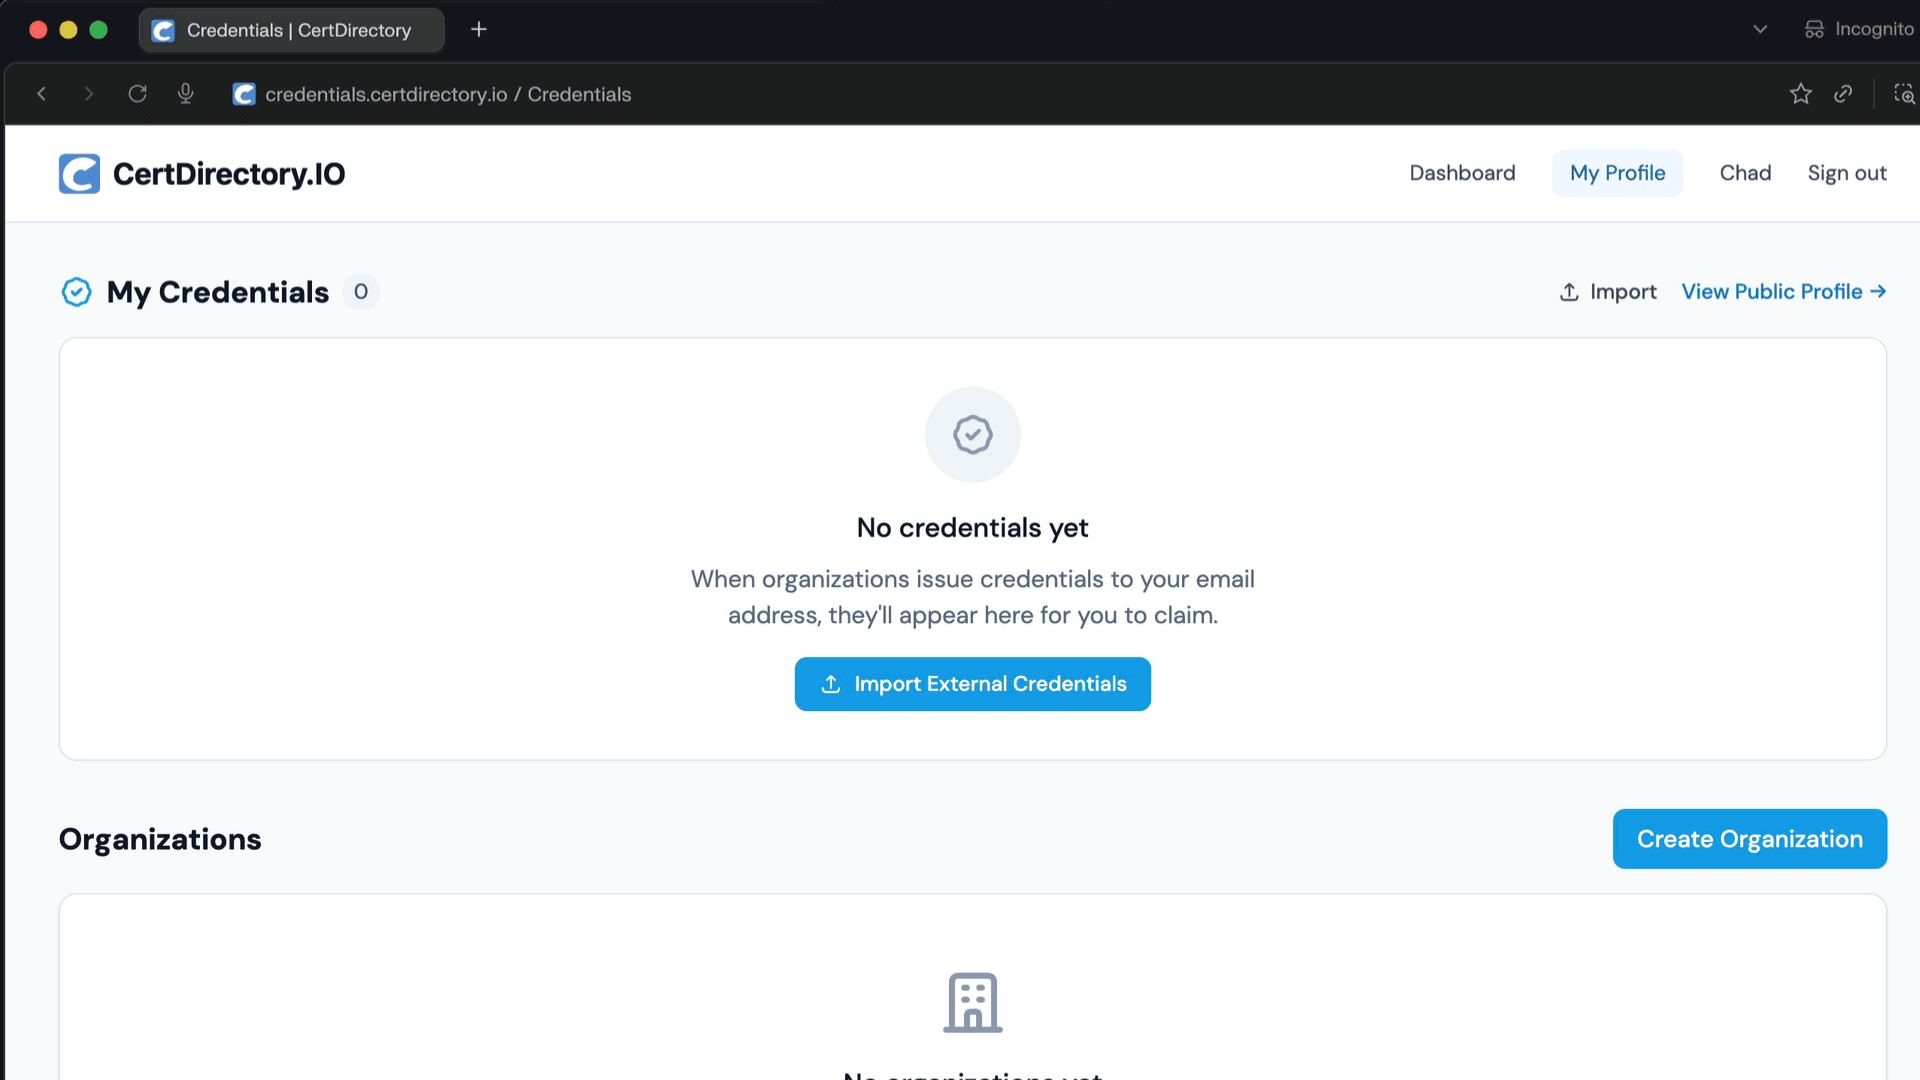 Organizations are the issuers. Every credential is signed by an organization, not a personal account.
1. From the dashboard, click Create Organization.
2. Fill in your organization's name, website, and a short description. The slug is generated automatically and forms part of your public organization URL:
Organizations are the issuers. Every credential is signed by an organization, not a personal account.
1. From the dashboard, click Create Organization.
2. Fill in your organization's name, website, and a short description. The slug is generated automatically and forms part of your public organization URL: /o/your-slug.
3. Submit. Your organization enters pending_review status while we verify it.
Approval
During the review window you can fully set up your organization — create badges, generate signing keys, configure team — but you cannot issue credentials until you're approved. Approval is typically completed within one business day.
3. Generate signing keys
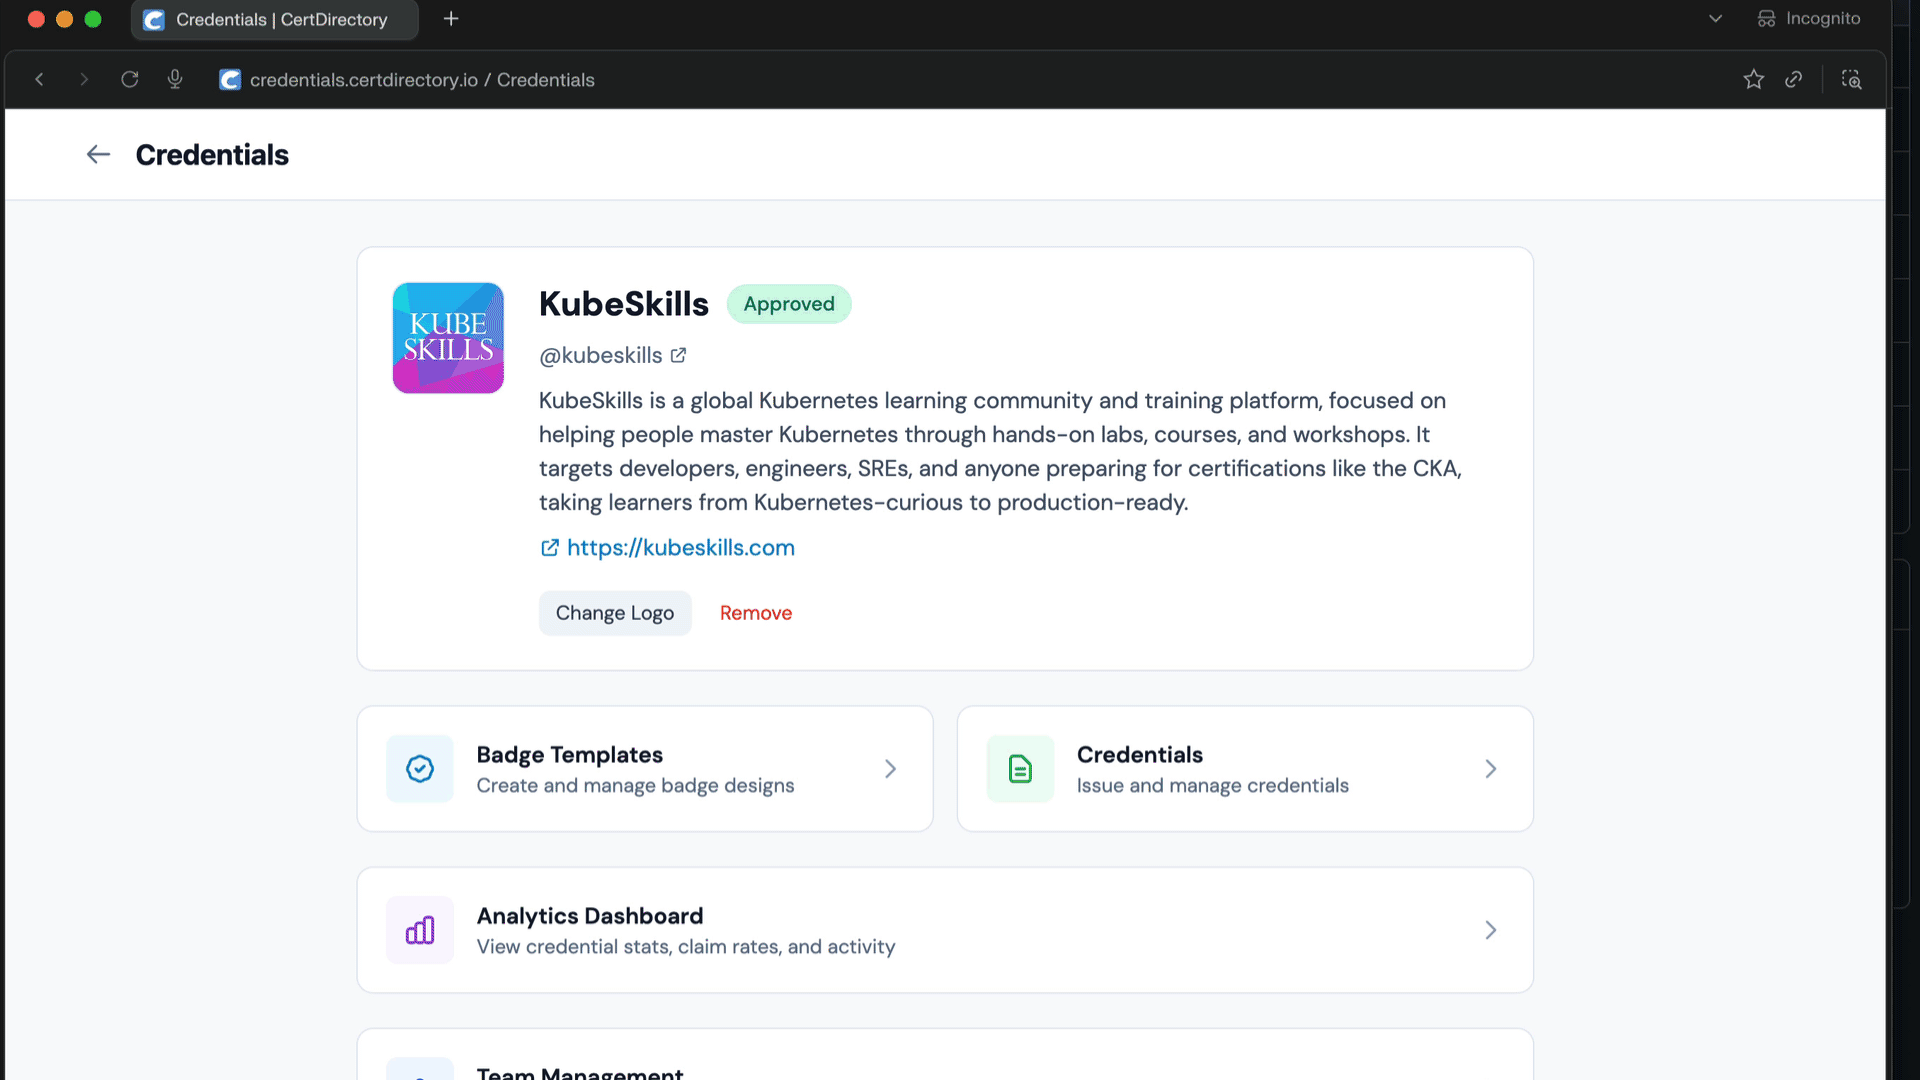 Credentials are signed with your organization's Ed25519 keypair.
1. Once verified, open your organization page (
Credentials are signed with your organization's Ed25519 keypair.
1. Once verified, open your organization page (/organizations/{id}).
2. In the Signing keys section, click Generate signing keys. (Owner only.)
3. Your public key is now published at /issuers/{slug}/did.json. The private key is stored encrypted on the server and never leaves it.
One-time action
Keys are generated once. Re-generation is not exposed in the UI to protect existing credentials' verifiability.
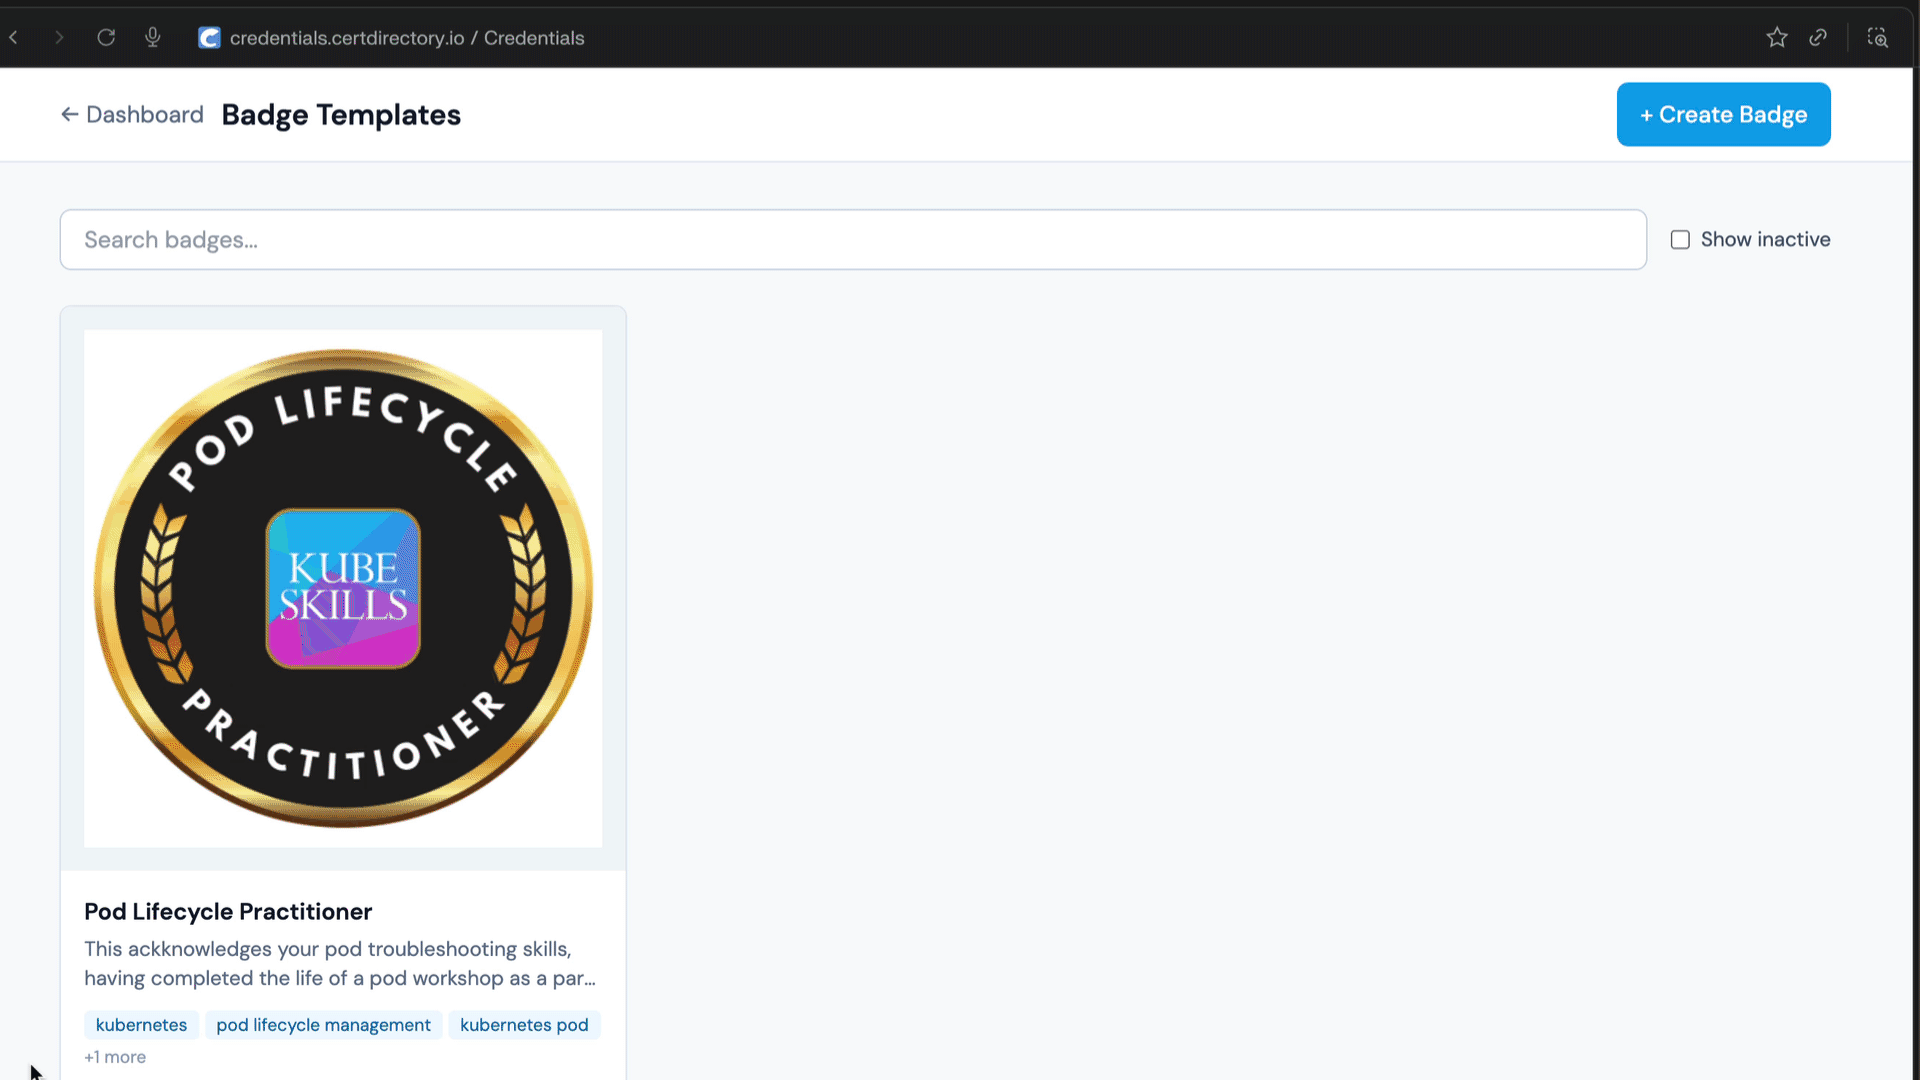
4. Create a badge
![]() Badges are templates — the thing you award.
1. Go to Badge templates → New badge.
2. Upload a badge image (PNG, JPEG, WebP, or SVG; max 5 MB), and fill in the name, description, and criteria.
3. Optionally set Expires in days (e.g.
Badges are templates — the thing you award.
1. Go to Badge templates → New badge.
2. Upload a badge image (PNG, JPEG, WebP, or SVG; max 5 MB), and fill in the name, description, and criteria.
3. Optionally set Expires in days (e.g. 730 for two years) and add skills as tags.
4. Save.
5. Issue your first credential
 1. From the badge detail page, click Issue this credential.
2. Enter the recipient's name and email.
3. The form runs a real-time recipient check — if the recipient has previously received this badge, you'll see a banner explaining whether the action is a fresh issue, a renewal, or blocked. (See Issuing Credentials.)
4. Check Make this credential publicly verifiable if you want anyone with the link to view it (recommended).
5. Click Issue credential.
1. From the badge detail page, click Issue this credential.
2. Enter the recipient's name and email.
3. The form runs a real-time recipient check — if the recipient has previously received this badge, you'll see a banner explaining whether the action is a fresh issue, a renewal, or blocked. (See Issuing Credentials.)
4. Check Make this credential publicly verifiable if you want anyone with the link to view it (recommended).
5. Click Issue credential.
The recipient receives an email with a View & Verify link pointing at /verify/{credential-id}.
6. Verify the credential
![]() Open the verification link. You'll see the credential's status (Valid), the badge image, the issuer, the recipient, the issue date, the skills, and live signature/expiration checks.
Open the verification link. You'll see the credential's status (Valid), the badge image, the issuer, the recipient, the issue date, the skills, and live signature/expiration checks.
That's it — your first verifiable credential is live.
Next steps
- Invite teammates: Members & Roles.
- Issue many at once: Bulk Issuance.
- Build an integration: API Reference.
- Understand the model: Key Concepts.